Anatomy TUESDAY – Palpation Series (Part 5 – The Knee)
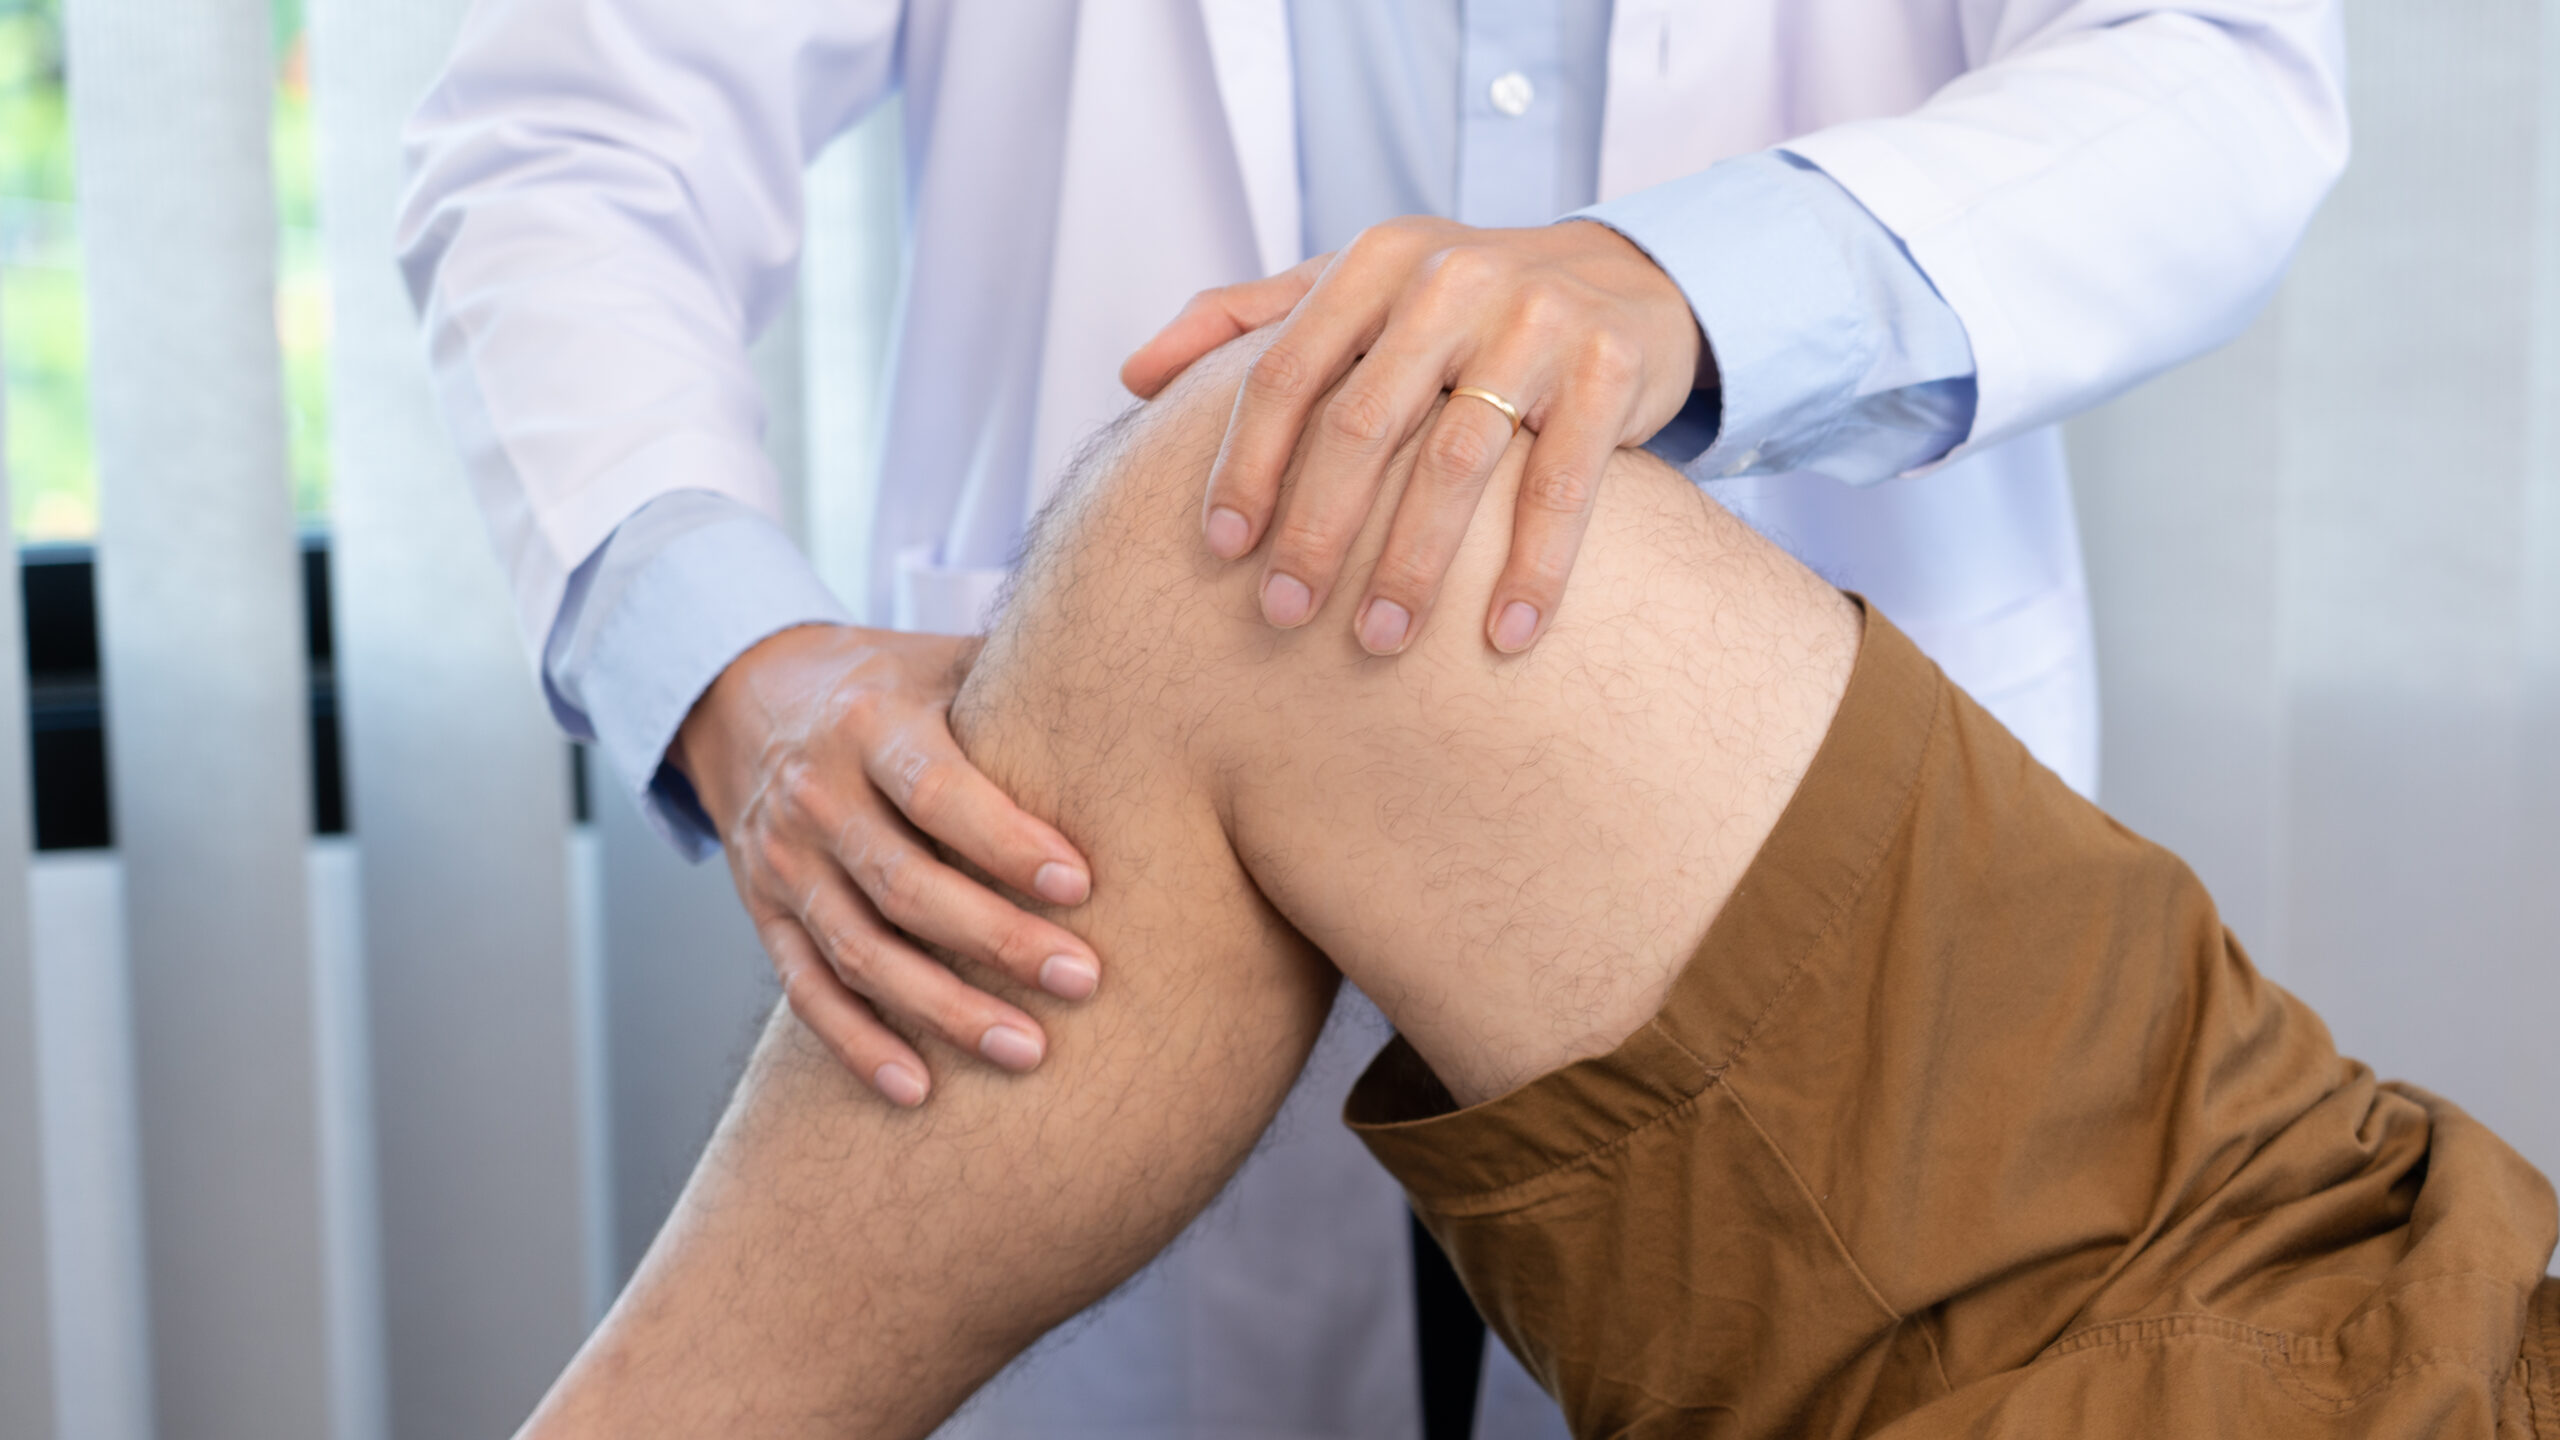
The knee joint is one of the most commonly injured joints. Situated between the ankle and the hip, it is literally stuck in the middle with nowhere to run and nowhere to hide. Determining the source of knee pain can be simple with good palpation skills and it all starts simply by finding the patella which is easy to find by just placing your hand over youe knee. Here is a video to walk you through finding the following structures:
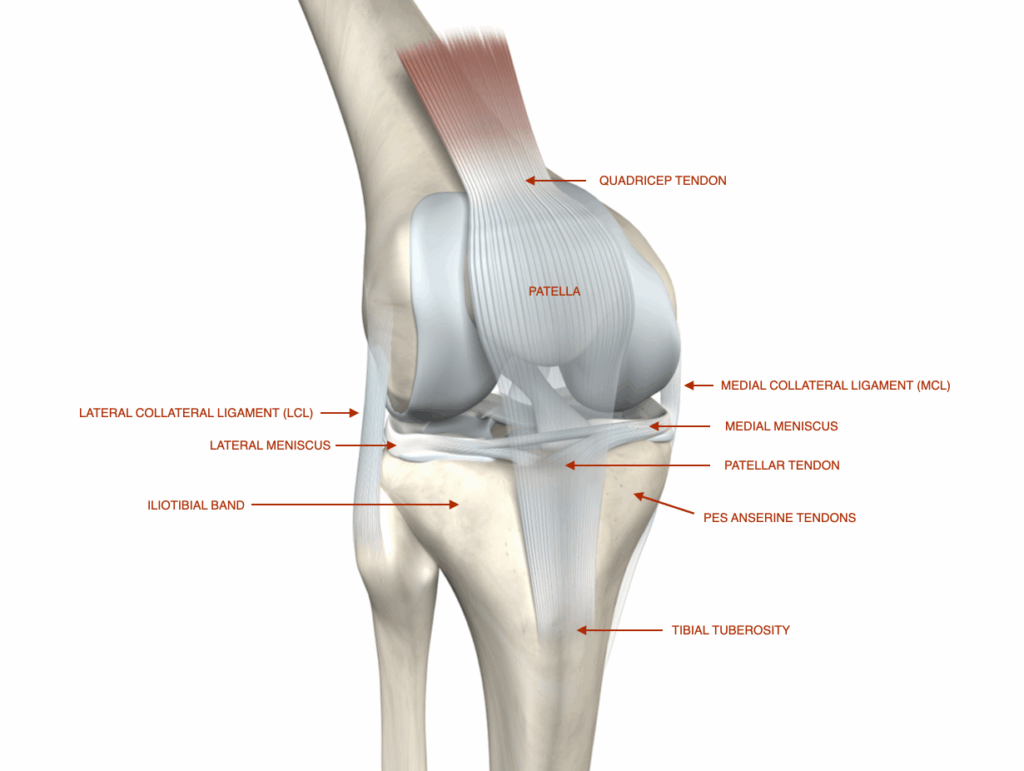
- Patella – patellofemoral pain is easily diagnosed as patients will point to pain being at their knee cap, but they won’t be able to touch the pain as the irritation is usually underneath on the patellar facets
- Quadricep tendon – move your fingers superior (upwards) from the patella until you fall off of it. You are now on the quadriceps tendon. Not as commonly injured as the…
- Patellar tendon – move your fingers inferior (downwards) from the patella until you fall off of it. You are now at the patellar tendon. Patellar tendonitis is one of the most common overuse injuries of the knee.
- Medial/lateral meniscus – from the patellar tendon, fall off to the medial side and your fingers will land in a divot. You are now touching the anterior medial meniscus. Return to the patellar tendon and fall off on the lateral side. You are now on the anterior lateral mensicus. Patients with meniscal irritation will point to this divot with the medial side being more commonly injured than the lateral side.
- Medial collateral ligament (MCL) – If you continue moving your fingers medially from the medial meniscus, you will feel a band on the medial side of the knee. This is the MCL, commonly injured with excessive valgus stress
- Lateral collateral ligament (LCL) – Head back to the patellar tendon and move laterally, past the divot of the lateral meniscus until you feel a band on the lateral side of the knee. This is the LCL. You know you are in the right spot if you move your fingers inferior and feel the top of the fibula.
- Tibial tuberosity – Move your fingers back to the patellar tendon and then slide your fingers inferior until you feel a boney prominence. This is the tibial tuberosity, point of attachment of the patellar tendon. Chronic tension on the patellar tendon may lead to irritation of this boney prominence with jumping or running. Inflammation of the tibial tuberosity is known as Osgood Schlatter’s disease and is most common in adolescent males.
- Pes anserine tendon – From the tibial tuberosity, move your fingers medially and slightly superior and you will be on the medial tibial region just below the divot of the joint line. This is the site of the pes anserine tendon and bursa (which sits beneath the tendon). This tendon is made up of three tendons: semitendinosis, sartorius and gracilis, which may be irritated in people who over pronate.
- Iliotibial band (ITB) – Lastly, from the tibial tuberosity, move your fingers laterally and slightly superior to the tibial tuberosity and you will be on Gerdy’s tubercle, the point of attachment of the ITB. This is NOT where people usually complain of ITB pain. Usually the point of friction is closer to the lateral femoral condyle where the ITB crosses over on its way to the tibia.
Why does this matter?
That seems like a lot but knee palpation is one of the most simple to learn due to the ease of finding the boney landmarks. Again, if you can find the patella, you can find all of the other structures. Here’s the link to the video again. Take a few minutes and give it a try.
Because nobody has time to be in pain.
Until next time…
Kind Regards,
MoveWell Academy
[email protected]